Step-by-Step Guide on How to Connect a Printer (2024 Edition)
Connecting a printer—whether it’s at home, in a small business office, or part of your IT infrastructure—can be surprisingly confusing if you’re doing it for the first time. This step-by-step guide on how to connect a printer will walk you through several methods, from USB to Wi-Fi and even network-based connections. It’s designed for beginners, web hosting owners, and users supported by Archer IT Solutions who want clear, reliable instructions without the jargon.
Getting your printer connected correctly ensures smooth printing, saves time, and reduces IT stress. Whether you just bought a new inkjet printer or need to reconnect your reliable laser printer after a move, following the right setup process is crucial. The steps below will also help you avoid the most common pitfalls that lead to connection errors and print delays.
This article not only outlines each phase of the setup but also includes troubleshooting strategies, diagrams, external resources, and helpful internal links. If you need local IT support or remote setup help, Archer IT Solutions offers both onsite and remote assistance—get 10% off with code “support” when contacting Archer IT Solutions.
Step-by-Step Instructions to Connect Your Printer
Step 1: Decide Your Connection Type
Before you begin, decide how you want to connect your printer. The three main methods are USB (wired), Wi-Fi (wireless), and Ethernet (network). Each method has its advantages. USB offers simplicity, Wi-Fi gives flexibility for multiple users, and Ethernet ensures speed and stability—ideal for small business environments or shared office networks.
If your printer supports Wi-Fi Direct or Bluetooth, you can also connect without needing a router or cables. Check your printer manual for its supported connection modes. Typically, modern printers include an LCD screen that assists in selecting your network or connection mode.
For instance, a home user who prints occasionally might prefer wireless to reduce cable clutter, while a business user could choose Ethernet to link the printer directly to a managed IT network or web hosting server room for secure print job management.

Step 2: Install the Printer Software and Drivers
Before your printer can function properly, your computer needs the correct printer driver. Most modern operating systems like Windows 11, macOS, or Linux can automatically detect and install drivers once the printer is connected. However, for optimal performance and access to all functions, it’s best to download the driver directly from the printer manufacturer’s website.
If you’re working in a managed IT environment, ask your administrator for driver installation permissions or refer to the network printer setup guide provided by your IT service provider. Installing the correct driver ensures access to advanced features like duplex printing, ink management, and print quality adjustments.
For clients of Archer IT Solutions, you can also request remote support for printer installation through their ticket system, or use their onsite support services to set up complex print networks across multiple devices securely.
Step 3: Connect and Configure the Printer
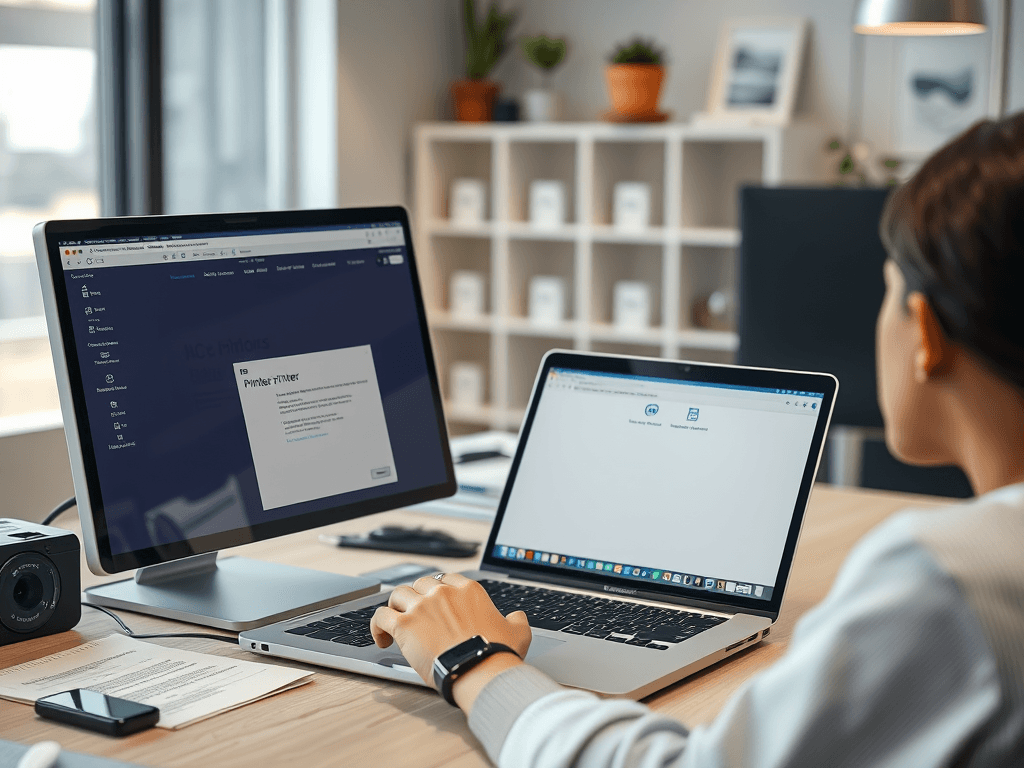
Once drivers are ready, connect your printer to your device. For USB connections, plug the cable directly into your computer and follow the prompts. For Wi-Fi printers, use the setup wizard on the printer’s display panel to select your Wi-Fi network and enter your password. On your computer, go to Settings → Devices → Printers & Scanners (Windows) or System Preferences → Printers & Scanners (macOS) to add the printer.
If your printer connects via Ethernet, simply plug it into your router or switch. Then add the printer using the IP address found in the printer menu. This method works well in small business environments using centralized print management systems or local IT support infrastructures.
Confirm your connection by printing a test page. If successful, your printer is ready! If not, move on to the troubleshooting section below for additional guidance and solutions.
Troubleshooting Common Printer Connection Problems
Problem 1: Printer Not Detected by Computer or Network
If your computer can’t find the printer, start by double-checking the connection cables or Wi-Fi status. Try restarting both your computer and printer, and ensure both are on the same network (especially common in workplaces with multiple Wi-Fi networks).
For wireless printers, ensure your router is within range, and that no firewall or network security setting is blocking communication. Some routers require that “AP isolation” or “Guest mode” be disabled to allow devices to communicate with each other.
If all else fails, reinstall the printer drivers and try a manual IP address connection. Search “Add a printer by IP address” on Microsoft Support for detailed instructions.
Problem 2: Printer Shows Offline or Doesn’t Print
An offline printer typically means the computer can’t communicate with it. Check that the printer is powered on and properly connected to Wi-Fi or the network. On Windows, open the Devices and Printers panel, right-click your printer, and select “Use Printer Online.”
Switching networks, using VPNs, or connecting to workplace secured servers can sometimes cause disconnections. To avoid such issues, ensure your VPN allows local network access, or consult your local IT support provider for custom network printer configurations.
If your printer is shared through a web hosting or network environment, check that the print service is running, and permissions allow access for all users. For managed printing setups, Archer IT Solutions can integrate printer queues into your server environment for automatic sharing.
Problem 3: Paper Jams, Driver Conflicts, and Print Delays
Sometimes a simple paper jam or outdated driver can waste hours of productivity. Always check for physical obstructions, empty cartridges, or tray misalignments first.
If the hardware looks fine, proceed to reinstall printer drivers or update the printer’s firmware from the manufacturer’s official website. Firmware updates address connectivity bugs and increase compatibility with operating systems or network security updates—a key issue in business environments.
For deeper driver-layer issues or repeating network timeouts, consider reaching out to Archer IT Solutions Managed IT Services. Their technicians can handle advanced printer setup, network optimization, and remote troubleshooting using secure tools.
Additional Tips and Best Practices
- Keep your printer’s firmware updated regularly.
- Always secure Wi-Fi printers with a strong network password to avoid unauthorized access.
- Label network printers in office environments for easier management.
- Store a copy of your printer’s installation CD or driver file on a shared drive.
- Use official manufacturer apps (like HP Smart, Canon PRINT, or Epson iPrint) for easy tracking and ink management.
Example Resource Links
- HP Printer Setup (HP Official)
- Canon Printer Connection Guide
- Epson Connect Service Setup
- Brother Printer Setup Tutorials
- Archer IT Solutions Contact Page
FAQ: Connecting a Printer
Q: How do I connect a printer to Wi-Fi without a WPS button?
A: Use your printer’s control panel to manually enter the Wi-Fi SSID and password. Most models support software-assisted configuration from your computer.
Q: Can I share one printer across multiple computers?
A: Yes. On Windows, enable “Printer Sharing” under printer properties. On macOS, use the “Share this printer” option under System Preferences → Printers & Scanners.
Q: What if my printer is too old to connect wirelessly?
A: Connect via USB and use printer sharing options, or attach the printer to a dedicated print server device or router with USB support.
Connecting a printer doesn’t have to be complicated. With the right steps—choosing the proper connection type, installing the correct drivers, and following simple troubleshooting techniques—you can have your printer online in minutes. For small business owners or IT administrators, setting up network printers correctly ensures smooth, scalable workflow and decreased downtime.
If you ever run into persistent issues or require professional guidance, reach out to Archer IT Solutions for remote setup or local IT support. Don’t forget to use the promo code “support” for 10% off your next troubleshooting session.
For more resources, check out related guides such as:
- The Complete Guide to Web Hosting
- The Complete Guide to Server Administration
- How to Secure Your Network Printers
With the right knowledge and professional assistance, you’ll never face a printer connection issue again.
Discover more from Archer IT Solutons
Subscribe to get the latest posts sent to your email.
No responses yet